
How to Set Up a Hermes Agent to Post to WordPress Automatically
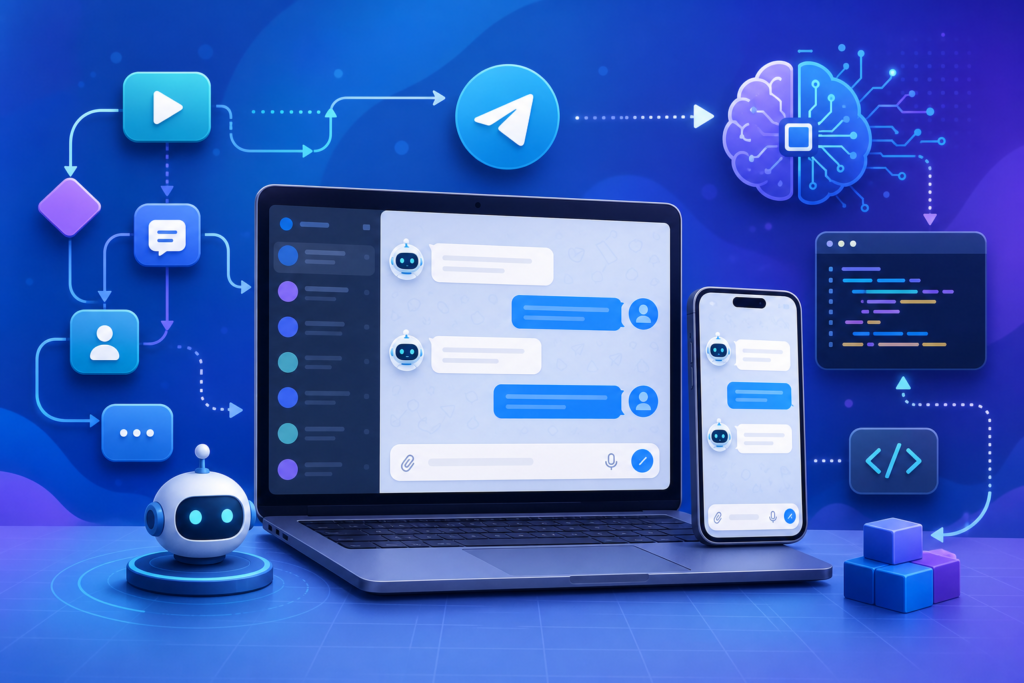
Hermes is an AI agent built on top of n8n – an open-source workflow automation platform. When connected to WordPress, it can take your written content, format it correctly, and publish it to your blog automatically. No manual copy-pasting, no logging into WordPress every time, no formatting headaches.

This guide shows you how to set it up step by step, from scratch.
—
What You Need Before Starting
- A WordPress website (self-hosted WordPress.org, not WordPress.com free plan)
- An n8n account (cloud or self-hosted)
- An AI API key (Anthropic Claude or OpenAI – your choice)
- Basic familiarity with copy-pasting and following steps (no coding required)
Estimated setup time: 45 to 90 minutes for first-time setup
—
Understanding the Setup: What Hermes Does
The Hermes agent workflow works like this:
- You give it a blog topic or a piece of content (text, a briefing doc, or a keyword)
- Hermes uses an AI model (Claude or GPT) to write or format the content
- It structures the post with a title, body, SEO metadata, categories, and tags
- It connects to your WordPress site via the WordPress REST API
- It publishes the post (as a draft or live, your choice) directly to WordPress
Once set up, posting to WordPress takes seconds instead of minutes.
—
Step 1: Set Up n8n
n8n is the automation platform that runs the Hermes agent.
Option A: n8n Cloud (easier, costs around USD $20/month)
- Go to **n8n.io** and click “Get Started”
- Choose the Starter plan
- Sign up with your email
- You will get access to the n8n workflow builder in your browser
Option B: n8n Self-Hosted (free, requires a server)
- You need a server running – a Digital Ocean droplet (USD $6/month) or a local machine works
- Follow n8n’s self-hosting guide at docs.n8n.io/hosting/installation/
- This option is for users who are comfortable with basic server setup
For beginners: start with n8n Cloud.
—
Step 2: Enable the WordPress REST API
Your WordPress site needs the REST API enabled so n8n can connect to it.
Good news: The WordPress REST API is enabled by default on all WordPress sites running version 4.7 or later. Most sites are already on version 6.x, so you likely do not need to do anything.
To check your WordPress version:
- Log into your WordPress dashboard
- Go to **Dashboard > Updates**
- Your current version is shown at the top
To verify the REST API is working:
Open a new browser tab and go to:
https://yoursite.com/wp-json/wp/v2/posts
Replace “yoursite.com” with your actual domain. If you see a page of JSON data (not an error), the REST API is working.
—
Step 3: Create a WordPress Application Password
n8n needs credentials to log into your WordPress site. Using your main admin password directly is not recommended. Instead, create an Application Password:
- Log into your WordPress dashboard
- Go to **Users > Profile** (or click your username at the top)
- Scroll down to the section called **Application Passwords**
- In the “New Application Password Name” field, type: `n8n Hermes Agent`
- Click **Add New Application Password**
- WordPress will show you a password with spaces – it looks like: `xxxx xxxx xxxx xxxx xxxx xxxx`
- **Copy this password immediately** – WordPress will not show it again
- Also note your WordPress username (usually shown at the top of the Profile page)
Save both the username and the application password somewhere safe. You will need them in the next step.
—
Step 4: Connect WordPress to n8n
- In your n8n workspace, click **Credentials** in the left sidebar
- Click **Add Credential**
- Search for **WordPress** and select it
- Fill in the fields:
- **WordPress URL:** Your full website URL, e.g., `https://agentsetupsg.com`
- **Username:** Your WordPress username
- **Password:** The Application Password you just created (paste it without spaces or with – n8n accepts both)
- Click **Save**
- Click **Test** to verify the connection works. You should see a green “Connection successful” message.
—
Step 5: Get Your AI API Key
Hermes needs an AI model to write or process content. Choose one:
For Claude (Anthropic):
- Go to **console.anthropic.com**
- Sign up or log in
- Go to **API Keys** in the left menu
- Click **Create Key**
- Name it: `Hermes n8n`
- Copy the key (starts with `sk-ant-…`) – save it immediately as it will not be shown again
- Add billing details under **Plans and Billing**
For ChatGPT (OpenAI):
- Go to **platform.openai.com**
- Sign up or log in
- Go to **API Keys** in the top menu
- Click **Create new secret key**
- Copy the key (starts with `sk-…`)
- Add billing details under **Billing**
Both work similarly. Claude is recommended for longer content due to its larger context window.
—
Step 6: Add the AI Credential to n8n
- In n8n, go to **Credentials** again
- Click **Add Credential**
- Search for **Anthropic** (or **OpenAI** if you chose that)
- Paste your API key into the field
- Click **Save** and **Test**
—
Step 7: Build the Hermes Agent Workflow
Now you build the actual automation. This is the heart of the setup.
Create a new workflow:
- In n8n, click **Workflows** in the sidebar
- Click **New Workflow**
- Name it: `Hermes Blog Publisher`
Add the trigger node:
- Click the **+** button to add a node
- Search for **Webhook** or **Manual Trigger**
- **Manual Trigger:** You run it by clicking a button (good for testing)
- **Webhook:** It runs when an external request is sent (good for automating from other tools)
- For beginners, start with **Manual Trigger**
Add the AI node:
- Click **+** after the trigger
- Search for **Anthropic** (or OpenAI)
- Select **Message a Model**
- In the **Model** field, select: `claude-sonnet-4-5` (or your preferred model)
- In the **Messages** field, set up the prompt:
System: You are a professional blog content writer for AgentSetupSG,
a Singapore AI resource website. Write for beginners. Use clear, direct language.
No em-dashes. Short paragraphs.

User: Write a complete blog post on the following topic.
Include: a compelling title, introduction, 4 to 6 sections with headings,
and a closing paragraph with a call to action linking to agentsetupsg.com/products.
Format in clean Markdown.

Topic: {{ $json.topic }}
- The `{{ $json.topic }}` will be replaced with actual topic data you pass in. More on that below.
Add the WordPress node:
- Click **+** after the AI node
- Search for **WordPress**
- Select **Create a Post**
- Fill in the fields:
- **Credential:** Select the WordPress credential you added earlier
- **Title:** Use an expression to pull the title from the AI output: `{{ $json.message.content[0].text.split(‘\n’)[0].replace(‘# ‘,”) }}`
- **Content:** `{{ $json.message.content[0].text }}`
- **Status:** Set to `draft` (so you can review before publishing)
- **Categories:** Add the relevant category ID from your WordPress site
- Click **Save**
Test the workflow:
- Click **Test Workflow**
- Enter a test topic when prompted
- Check your WordPress dashboard under Posts > Drafts
- You should see the new post appear within a few seconds
—
Step 8: Add a Topic Input
To make the agent truly useful, you want to pass different topics to it each time without editing the workflow.
Simple option – use a Form trigger:
- Replace the Manual Trigger with a **n8n Form** node
- Add a field: Label = “Blog Topic”, Name = `topic`
- n8n generates a form URL you can open in any browser
- Fill in the form, click submit, the agent runs automatically
Advanced option – connect to a spreadsheet:
- Keep a Google Sheet with a column of blog topics
- Use a **Schedule Trigger** (runs at a set time daily or weekly)
- Add a **Google Sheets** node to read the next unprocessed topic
- Pass it into the AI node
- After publishing, mark the row as “published” in the sheet
—
Step 9: Review Before Making It Live
When you are confident the workflow produces good output:
- Open the WordPress node
- Change **Status** from `draft` to `publish`
- Test one more time
- Watch the post appear live on your site
Recommendation: Keep it on draft mode and schedule a 5-minute review before publishing goes live. Even small errors look unprofessional on a live site.
—
Troubleshooting Common Issues
“Authentication failed” when connecting WordPress:
Check that you are using an Application Password, not your regular WordPress password. Also confirm the URL matches your site exactly including https://.
AI output is not formatted correctly in WordPress:
Make sure you are using the WordPress Gutenberg Block Editor. If you are using the Classic Editor plugin, switch or convert the content format from Markdown to HTML in the workflow.
Workflow runs but no post appears in WordPress:
Check your WordPress user has “Editor” or “Administrator” role. Lower roles may not have permission to publish.
—
This setup takes time the first time. Once it works, every future post takes seconds. That is the payoff.
For more step-by-step AI agent setup guides built for Singapore, browse the AgentSetupSG playbook series.