

How to Set Up n8n for Free AI Workflow Automation (Singapore Guide 2026)
n8n (pronounced “n-eight-n” or “nodemation”) is one of the most powerful automation tools available today. Unlike Zapier or Make.com, n8n is open-source – meaning you can run it yourself for free, with unlimited automations and no per-task pricing.
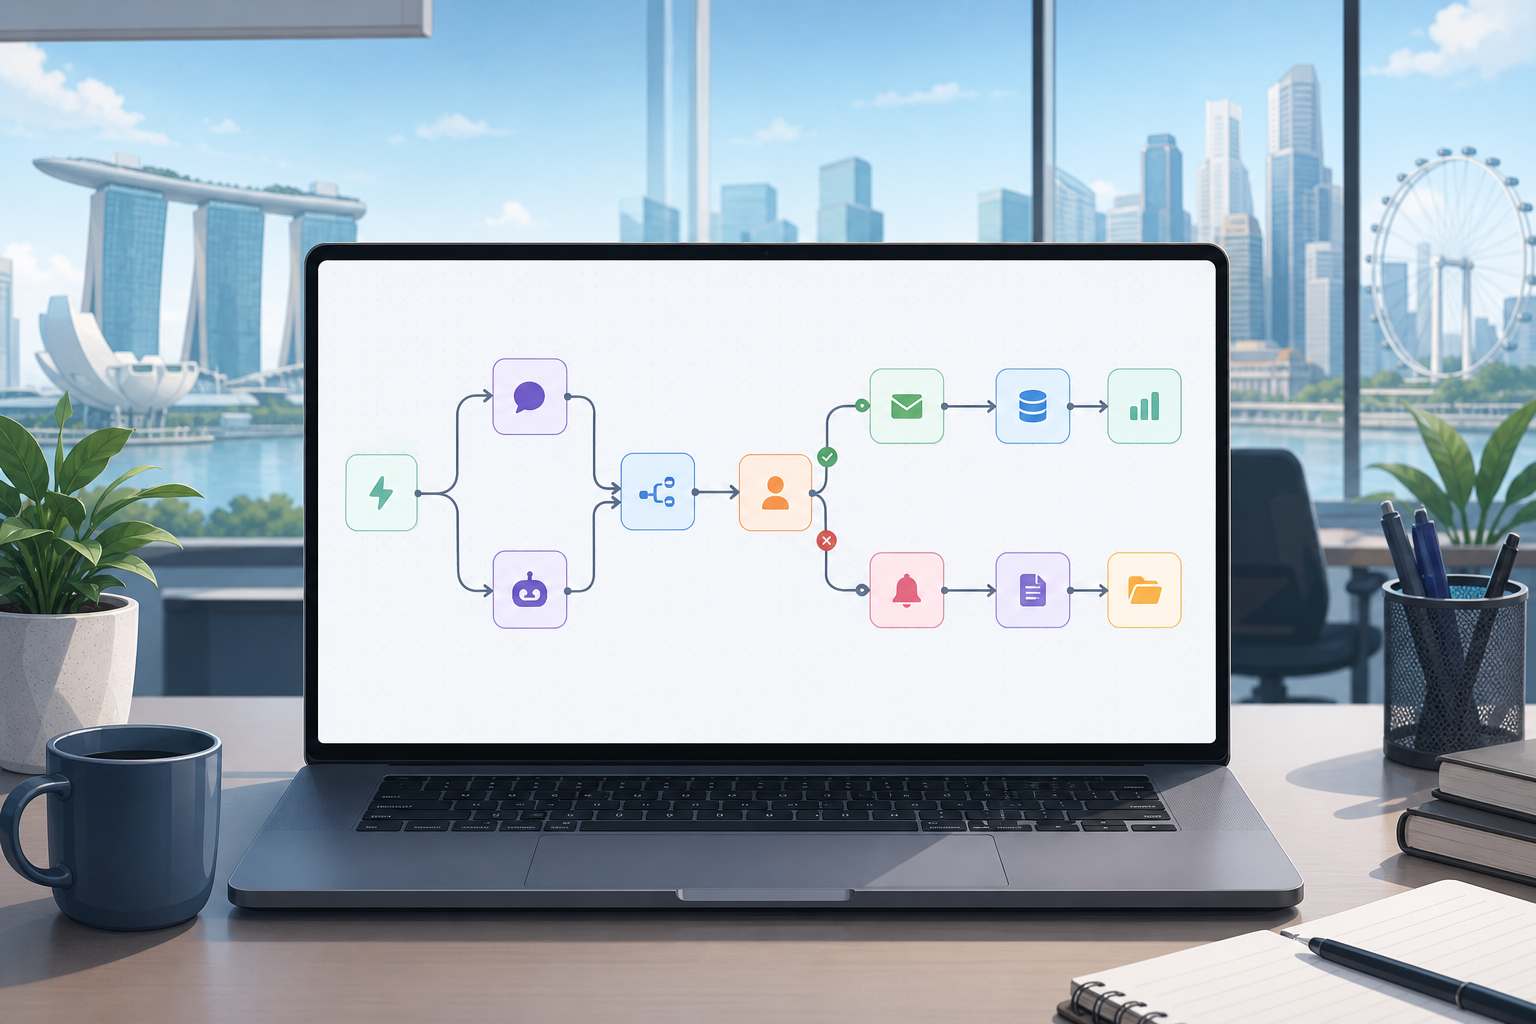
This guide walks you through setting up n8n from scratch, with options for both beginners who want a quick start and those who want the free self-hosted version.
—
Why n8n Instead of Zapier or Make.com
| | n8n | Zapier | Make.com |
|–|—–|——–|———|
| Cost (basic use) | Free (self-hosted) | ~USD $20/month | ~USD $9/month |
| Unlimited automations | Yes (self-hosted) | No | No |
| AI agent support | Yes, built-in | Limited | Yes |
| Coding required | No (visual builder) | No | No |
| Best for | Power users, budget-conscious | Beginners | Balance of both |
n8n’s main advantage: once you set it up, there are no per-task fees. Your automations run as many times as you want.
The trade-off: the initial setup takes slightly more effort than signing up for a SaaS tool.
—
Choosing Your n8n Setup Option
Option A: n8n Cloud (Easiest – Paid)
- No server setup required
- Just sign up at n8n.io
- Starter plan: USD $20/month for 2,500 workflow executions/month
- Best for: Beginners or businesses that want to skip the technical setup
Option B: Self-Hosted on a VPS (Free to Low Cost)
- Run n8n on a server you rent for USD $4 to $6/month
- Unlimited executions
- Requires basic comfort with a command line
- Best for: Users who want maximum control and zero per-task fees
Option C: Self-Hosted on Your Own Windows/Mac Computer (Free)
- Run n8n on your own machine using Docker or npm
- Truly free, but only runs when your computer is on
- Best for: Experimenting and learning before committing to a server
This guide covers all three options. Start with whichever fits your situation.
—
Option A: Set Up n8n Cloud
Step 1: Go to n8n.io and click “Start for free” or “Get started”
Step 2: Create your account with your email address
Step 3: Choose the Starter plan (free trial available)
Step 4: You will be taken directly to the n8n workflow builder. You are ready to start building.
Skip to the section “Building Your First Workflow” below.
—
Option B: Self-Hosted on a VPS (Recommended for Regular Use)
This setup uses a cheap virtual server (VPS) to run n8n 24/7. Recommended provider for Singapore users: DigitalOcean or Vultr (both have data centres in Singapore for low latency).
Step 1: Get a VPS
DigitalOcean:
- Go to **digitalocean.com** and create an account
- Create a new Droplet (their term for a virtual server)
- Choose: **Ubuntu 22.04 LTS**
- Choose: **Basic plan, 1GB RAM** (~USD $6/month)
- Choose: **Singapore** as the data centre region (sfo3 or sgp1)
- Choose password authentication for simplicity
- Click **Create Droplet**
- Note your server’s IP address when it appears
Step 2: Connect to Your Server
On Windows:
- Download **PuTTY** from putty.org (free SSH client)
- Open PuTTY, enter your server IP address, click Open
- Log in as: `root`
- Enter your password when prompted
On Mac:
- Open Terminal
- Type: `ssh root@YOUR_SERVER_IP`
- Type your password when prompted
Step 3: Install Docker
Docker makes running n8n easy. Paste these commands one at a time into your server terminal:
apt update && apt upgrade -y
apt install -y docker.io
systemctl start docker
systemctl enable docker
Step 4: Run n8n with Docker
docker run -d \
  --restart unless-stopped \
  --name n8n \
  -p 5678:5678 \
  -v n8n_data:/home/node/.n8n \
  n8nio/n8n
Step 5: Access Your n8n Instance
Open a browser and go to:
http://YOUR_SERVER_IP:5678
You will see the n8n setup screen. Create your owner account with your email and a strong password.
Optional but recommended: Set up a domain name (e.g., n8n.yourdomain.com) pointing to your server IP, and add SSL (HTTPS) using Nginx + Certbot. This step is for more technical users – skip it if you are just starting out.
—
Option C: Run n8n on Your Own Computer
On Windows (using npm):
Step 1: Install Node.js from nodejs.org (choose the LTS version)
Step 2: Open PowerShell as Administrator and run:
npm install n8n -g
Step 3: Start n8n:
n8n start
Step 4: Open your browser and go to: `http://localhost:5678`
Note: n8n only works while your computer is on and running. Close the terminal window and it stops.
—
Building Your First Workflow
Once you are inside n8n (via any of the three options above), here is how to build your first automation.
Step 1: Create a New Workflow
- Click **Workflows** in the left sidebar
- Click **Add Workflow**
- Name it something descriptive, e.g., “Daily Email Summary to Slack”
Step 2: Add a Trigger Node
The trigger is what starts your workflow. Common triggers:
- **Schedule Trigger:** Runs at a specific time (e.g., every morning at 8am)
- **Webhook:** Runs when it receives a request from another tool
- **Gmail Trigger:** Runs when you receive a new email
- **Manual Trigger:** You click a button to run it
For your first workflow, add a Manual Trigger so you can test it easily:
- Click the **+** button in the canvas
- Search for “Manual Trigger”
- Click to add it
Step 3: Add an AI Step
Add an AI processing step using Claude or OpenAI:
- Click **+** after the trigger
- Search for “Anthropic” or “OpenAI”
- Select **Message a Model**
- Click **Create new credential** and paste your API key
- In the **Model** field: select `claude-sonnet-4-5` or `gpt-4o-mini`
- In the **Messages** section, add a user message with your prompt
Example prompt for a content writing workflow:
Write a short LinkedIn post (max 150 words) about the following topic.
Write for Singapore business professionals. Be direct and avoid jargon.

Topic: {{ $json.topic }}
Step 4: Add an Output Node
Send the AI output somewhere useful:
To Gmail (send an email):
- Click **+** and search for Gmail
- Select **Send Email**
- Connect your Google account via OAuth
- Set “To” as your email, Subject as “AI Output – {{ $now }}”, Body as `{{ $json.message.content[0].text }}`
To Google Sheets (log the output):
- Click **+** and search for Google Sheets
- Select **Append Row**
- Connect your Google account
- Select your spreadsheet and add the output in the row fields
To WordPress (post content):
- Click **+** and search for WordPress
- Select **Create Post**
- Connect your WordPress credentials
- Map the AI output to the post body
Step 5: Test and Activate
- Click **Test Workflow** to run it manually
- Check that each node runs without errors (green check marks)
- Look at the output to verify it looks correct
- Click **Save**
- Click **Activate** (toggle at the top) to turn it on permanently
—
5 Ready-to-Use Workflow Ideas for Singapore Businesses
1. Daily news summary to email
Trigger: Schedule (every morning 7am) → HTTP Request (RSS feed from CNA or Business Times) → Claude (summarise top 5 stories) → Gmail (send to yourself)
2. New Shopify order notification to WhatsApp
Trigger: Shopify new order → Format message → WhatsApp Business API send message to yourself
3. Weekly blog post generation
Trigger: Schedule (Monday 9am) → Google Sheets (read next topic from list) → Claude (write full blog post) → WordPress (create draft post)
4. Customer email triage
Trigger: Gmail new email → Claude (classify as urgent/normal/spam and write draft reply) → Gmail (label and save draft)
5. Social media content batch
Trigger: Manual or Schedule → Claude (generate 7 days of captions for a given theme) → Google Sheets (save all captions in rows ready for scheduling)
—
Troubleshooting Common n8n Issues
“ECONNREFUSED” error when testing a node:
Usually means the credentials are wrong. Re-check your API keys or OAuth connections.
Workflow activates but never runs:
Check the trigger settings. A Schedule Trigger set to run at 8am will only fire at 8am – not immediately.
AI output is not structured as expected:
Add a step after the AI node to parse or format the text. n8n has built-in “Edit Fields” and “Code” nodes for this.
Server stops working after restarting:
If using Docker, make sure you used `–restart unless-stopped` in your Docker run command. This ensures n8n restarts automatically after a reboot.
—
n8n has a learning curve but the payoff is significant. Once you have a handful of automations running, you will spend significantly less time on repetitive tasks.
For workflow templates and Singapore-specific setup guides, browse the AgentSetupSG playbook series.